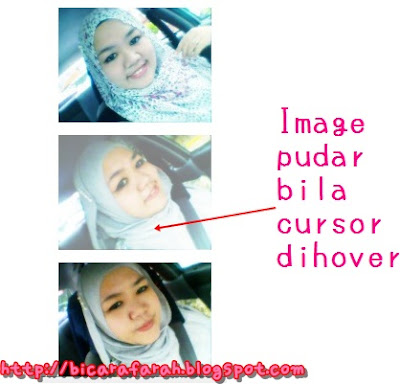
Nak tunaikan tutorial yang dah lama tak tertunai. Busy kan..
Artikal pun berlambak tak baca dengan bahasa yang berfalsafah bagai. Inilah rutin kehidupan seorang pelajar. Sedih minggu ni terperuk kat bilik je.. orang tu busy sangat kan.. :(
Nak ajar korang satu lagi tutorial sebelum lunch dan study ececece..huhuu.
Ada 2 VERSI untuk tutorial ini.
Jom try buat.
1. Sign in blogger > Design > Add Gadget > Html/JavaScript
2. Copy dan paste di dalam Html/JavaScript, ambil salah satu code di bawah mengikut citarasa korang, jangan copy dua-dua sudah, kang terencat pula template tu.
VERSI 1
- Gambar akan menjadi pudar/kabur takhala cursor menyentuh/dihover gambar.

<style>
/* ----- Image opacity effect 1 ----- */
.post a img {
filter:alpha(opacity=100);
-moz-opacity: 1.0;
opacity: 1.0;
-khtml-opacity: 1.0;
}
.post a:hover img {
filter:alpha(opacity=50);
-moz-opacity: 0.5;
opacity: 0.5;
-khtml-opacity: 0.5;
}
</style>
VERSI 2
- Gambar akan menjadi terang takhala cursor meyentuh/dihover gambar.
<style>3. Dah copy, SAVE dan lihatlah hasilnya.
/* ----- Image opacity effect 2 ----- */
.post a img {
filter:alpha(opacity=50);
-moz-opacity: 0.5;
opacity: 0.5;
-khtml-opacity: 0.5;
}
.post a:hover img {
filter:alpha(opacity=100);
-moz-opacity: 1.0;
opacity: 1.0;
-khtml-opacity: 1.0;
}
</style>
Dah cuba kenalah komen, takkan diam je.


nape tak jadi ek? maybe kite yg salah buat kot haha. anyway cantek blog. suke sangat! :)
ReplyDeleteyeye .. da jdi thanx kak fara dari fara .. ha3
ReplyDeleteMintak nak copy tutorial ni.sy akan kredit!
ReplyDeleteknape tak jadi ea versi yg kedua tu.. erm.. mcm mne nk buat nie..?huh :(
ReplyDeletenice~! jadi..
ReplyDeletedone! thnx akak...^_^
ReplyDeleteHey there XDD
ReplyDeleteFarah, penat sy carik opacity blur ke terang.. kebanyakn blog sy pergi sume jadi opacity terang ke blur.. thanks for this tuto
i favie this link.. and mohon tuto nih utk blog sy nanti can I?
I will credit you back thanks ^__^